Recording your lecture for a webinar is easy to do. We recommend using PowerPoint (more control, slide by slide recording), Teams and Zoom (start a meeting, share your screen and record) or more advanced options like Zoom Clips or Microsoft Stream/Clipchamp.
As a second hand option we can also schedule a time for remote recording. Remote recording is dependent on a stable, high-speed internet connection and will result in lower quality audio and video compared to a recording done locally.
Contact the EAS Office if you have questions or need help with your setup.
Download the EAS PowerPoint template »
Key points
- Be in a quiet room with a neutral background.
- Try to put your camera in eye-height for a natural camera angle.
- Use an as good microphone as possible, test for best result. EAS can reimburse up to €70 for a microphone purchase if you are engaged in our activities, contact the office for more info.
- Do not speak in the transition when you change slides. It helps when editing the resulting video and in PowerPoint each slide is recorded individually so you can easily go back and re-record a slide
- Test-record audio and video, view, and adjust your settings if needed
Recording in Teams, Zoom or with a screen recorder
Recording your lecture in Teams or Zoom is as easy as starting a meeting, share your screen and record.
Before you start recording your lecture: TEST YOUR METHOD! Different methods puts the camera picture in different places and other settings differ.
- Prepare your slides, keep space for your camera avatar. Make sure your aspect ratio is set to 16:9 in powerpoint.
- Your video is not the final product; we will edit the video when we get it, e.g. trim the beginning and end, and cut retakes. Just tell us what timestamps you want us to remove.
- Take your time setting your presentation in full screen, adjusting your avatar position etc, don’t start speaking until you are ok with your layout.
Recording in PowerPoint (Office 365)
Prepare your slides
- Reserve space on the right-hand side for your camera (Cameo)
- Insert a “Cameo” on all slides, it can be found on the Insert and Record tabs. This is an object that represent the place where your camera will show on the slide
- Note that the default position and size might hide some of your text or charts. You can adjust this before or after you record your lecture

Open the recording interface

Record your lecture
- You can add your script or bullets to each slide before you start
- Adjust settings for camera and microphone
- Test by recording a bit and listen to the result
- Do not speak in the transition when you change slides. Technically, each slide is recorded individually, as it’s own clip
- You can easily go back and re-record a slide, change the layout, or re-order your slides after you are done

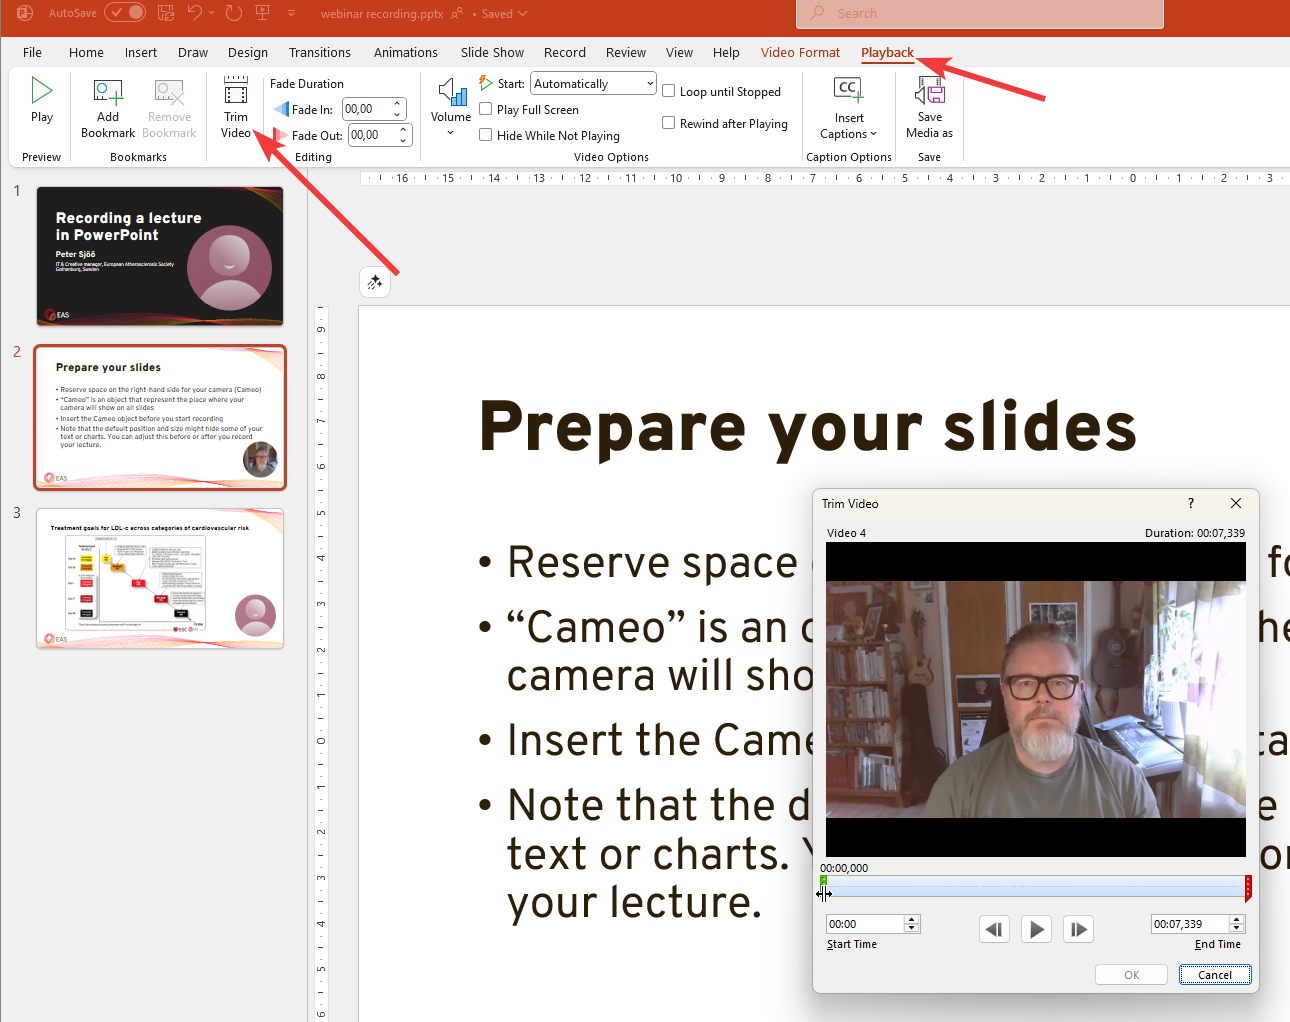
Post recording editing
- After you have recorded the voice-over you can keep editing your presentation.
- The Cameo object can be moved and edited like any other object
- You can find video specific tools under the Video format and Playback tabs, e.g. trimming and cropping etc.